We have been dating since August 2007, engaged in September 2009 and married on the beach in Mexico March 6, 2010. We had a number of common interests when we started dating including the Redsox, NE Football, TV shows, but cooking wasn't one of them.
This recipe has evolved over time from an old college recipe made on the cheap to what it is today. Originally the ingredients were cream cheese, canned chicken, Pillsbury crescent rolls, butter and milk. The recipe I use today calls for grilled or baked chicken breasts, garlic, black pepper, chives, cream cheese, oregano, a little butter and Pillsbury crescent rolls. The updated recipe is MUCH better and more flavorful!
So here's how I made them:
I baked two larger boneless, skinless chicken breasts. I brought the butter and cream cheese to room temperature. Then I diced up the chives, crushed the garlic and gathered the other spices.
To make the filling dice up the chicken. You'll want to have about 2 cups of chicken once it's diced. Place that in a bowl. Add two cloves garlic, pepper and oregano to taste and two T. of chives. Then add 2T softened cream cheese and 1t softened butter. Mix all of this together by hand. Layout the crescent rolls on an ungreased cookie sheet.
Like this:
Put about 1/2C of the chicken mixture in the center of each rectangle. You will then take one corner and meet it up with the corner opposite of it. Once all four corners have been pulled up to the top seal along the edges so that the crescents look like a little purse.
Once they were put together, I baked them at 375 degrees for 13-15 minutes. They should be golden brown when they are done.
This is the finished product. I highly recommend for an evening when you don't have time to really cook something from scratch! They are yummy and easy to assemble.
We were planning on having our niece Taryn over for pizza the following day, so I whipped up a couple batches of pizza dough. I've been wanting to try this recipe for bread baked in a dutch oven I saw on Alton Brown's Good Eats. Since I had the flour out and the kitchen was already a mess I decided to give it a shot. Okay, this probably isn't technically sourdough bread since I didn't use a sourdough starter. It did sit for over 19 hrs and ended up with a little of a sourdough taste. Nothing overwhelming but still enough that I'm comfortable with calling it such.
First off I just threw together 17 1/2 oz (by weight) bread flour, 2 1/2 tsp kosher salt, 1/4 tsp active dry yeast and 12 fl oz filtered water. Mixed it together by hand and was sure I messed up, because it didn't seem like it had enough water. Very clumpy and weird. I figured there was no reason to throw it away, covered it with plastic wrap and set the timer for 19 hrs. (total time invested: 7 minutes)
When 19 hrs were up it got a quick punch down, another 15 minute rest, then into a cornmeal dusted tea towel for a 2 hour bench proof.
Meanwhile I fired up the green egg grill for indirect cooking, threw on the dutch oven and stabilized the temperature at 450 degrees.
I threw the dough (corn meal and all) into the hot dutch oven and put the lid on for 30 minutes. Of course I closed the lid to the egg and kept monitoring temp to keep it around 450.
When the 30 minutes were up, I pulled off the lid and baked uncovered for another 15 minutes.
Time is up and the bread is done. I would have preferred the top to be a little darker. Might have to pull the lid off a little earlier next time.
When we received the Staub Dutch Oven as a wedding gift, I told JS the first thing I was going to make in it was Coq Au Vin. We were fresh off watching Julie and Julia and it seemed like a fun and challenging first recipe to try using such a fine piece of cookware. Only, it was Spring and then Summer and so it was too hot to be cooking in a Dutch Oven inside. The Coq Au Vin would have to wait until Fall.
This weekend were at Whole Foods, and JS spotted the fresh squid. We had bought it before and grilled it, much to our enjoyment. So we decided to buy some more! Only once we had it home, we decided that instead of grilling the squid, we'd make homemade calamari. JS had been dying to try and make it ever since he watched the Alton Brown episode "Squid Pro Quo."
We ended up making two kinds of calamari. We started with the Dry Fried Calamari (using Alton's recipe of course).
To start we rinsed the squid and patted it dry. We then sliced the tentacles in half and the tubes into 1/2 inch rings.
Then we had to make the batter. JS threw together the flour, cornmeal, salt and pepper. While he was doing that, I poured 1 quart of grapeseed oil into the Dutch Oven. It had to be warmed slowly to 375 degrees F. The batter was ready, as was the oil. Time to fry some squid! Per Alton's recipe, we took small handfuls, dredged the squid in the flour and cornmeal mixture and shook off the excess. Then lowered them into the grapeseed oil one by one. We let the first batch cook for 1 minute. They weren't as golden or crispy as I like, so we left the second batch in for 2 minutes. It was at that point we realized it wasn't the timing, it was the batter. So we decided to make the rest using Alton's Wet Fried Calamari recipe.
This was way better! He still said to cook for 1 minute, but we found cooking for 2.5 mins was more to our liking. We served the calamari with hot pepperocini rings. It was no Coq Au Vin, but it was fun trying these new recipes!
I am only including the recipe for the second calamari. The first one isn't worth wasting your time to make.
Cheers!
Ingredients
1 quart grapeseed oil
1 pound squid, tubes and tentacles
1 egg
1 cup ice water
1 cup all-purpose flour
Kosher salt
Freshly ground black pepper
Directions
Place the grapeseed oil in a 4 to 5-quart Dutch oven and place over medium-high heat. Heat oil until it reaches 375 degrees F.
Rinse the squid thoroughly and pat dry. Cut the tentacles in half lengthwise and the tubes into 1/2-inch rings. Set aside.
Place the egg, water and flour into a bowl and whisk thoroughly to combine. In small handfuls, dip the squid in the batter and shake off the excess. In batches, gently lower the squid into the hot oil. Cook for 2.5 minutes. The squid will not be browned, but lightly golden in color. Remove the squid and transfer to a cooling rack turned upside down set over a newspaper-lined sheet pan. Season with salt and pepper, as desired. Repeat until all of the squid is cooked. Make sure to check the temperature of the oil before each batch to ensure it is 375 degrees F. Serve immediately.
I was going to wait until we actually try the pickles to post this, but what the heck. I am sure they are going to be good. With the amount of time I spent in search of dill, they better be nothing less than divine!
J and I went to the Farmer's Market yesterday where we picked up some patty pan squash and pickling cucumbers. Two things we have not bought before. I knew that I wanted to make the pickles this weekend, but we couldn't find any dill at the market, or Tomato Tomato, or Hy-vee. We did find some at Baker's thank goodness. And so the pickle making ensued:
I started by washing the cukes!
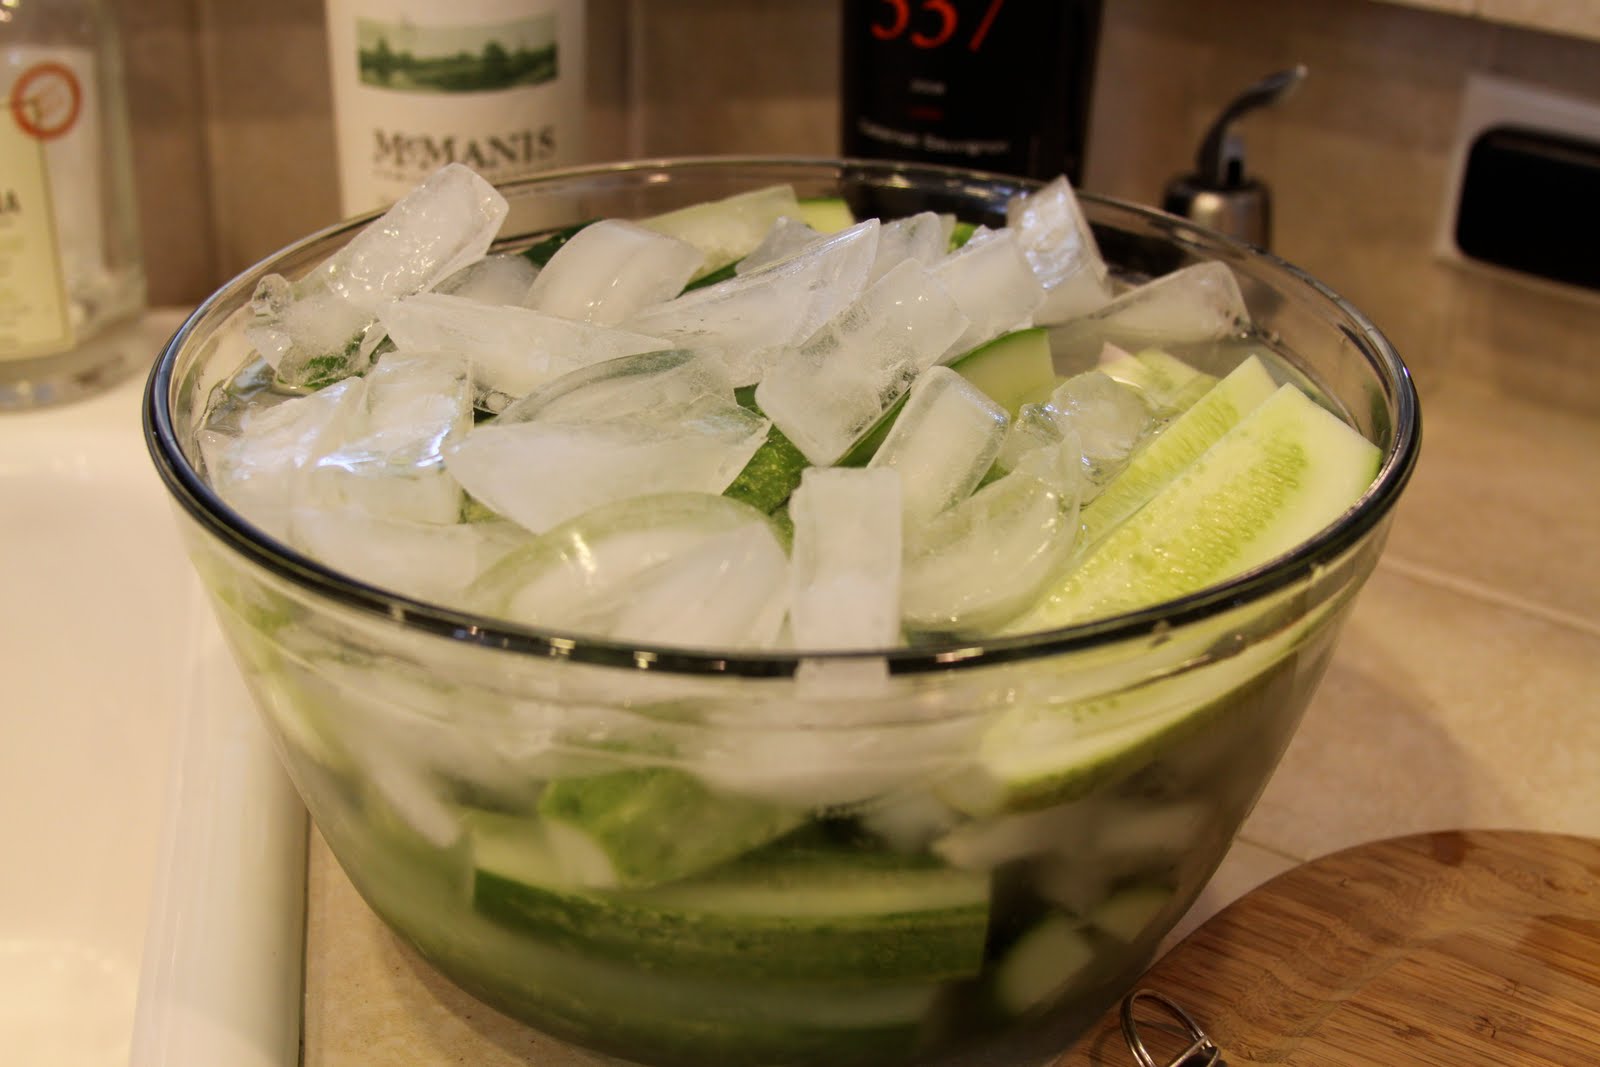
I then quartered the cucumbers and soaked them in an ice bath for an hour. I don't know why I was supposed to do that, but I saw it in some recipe somewhere, so I thought it was worth a shot since I only like crunchy pickles!
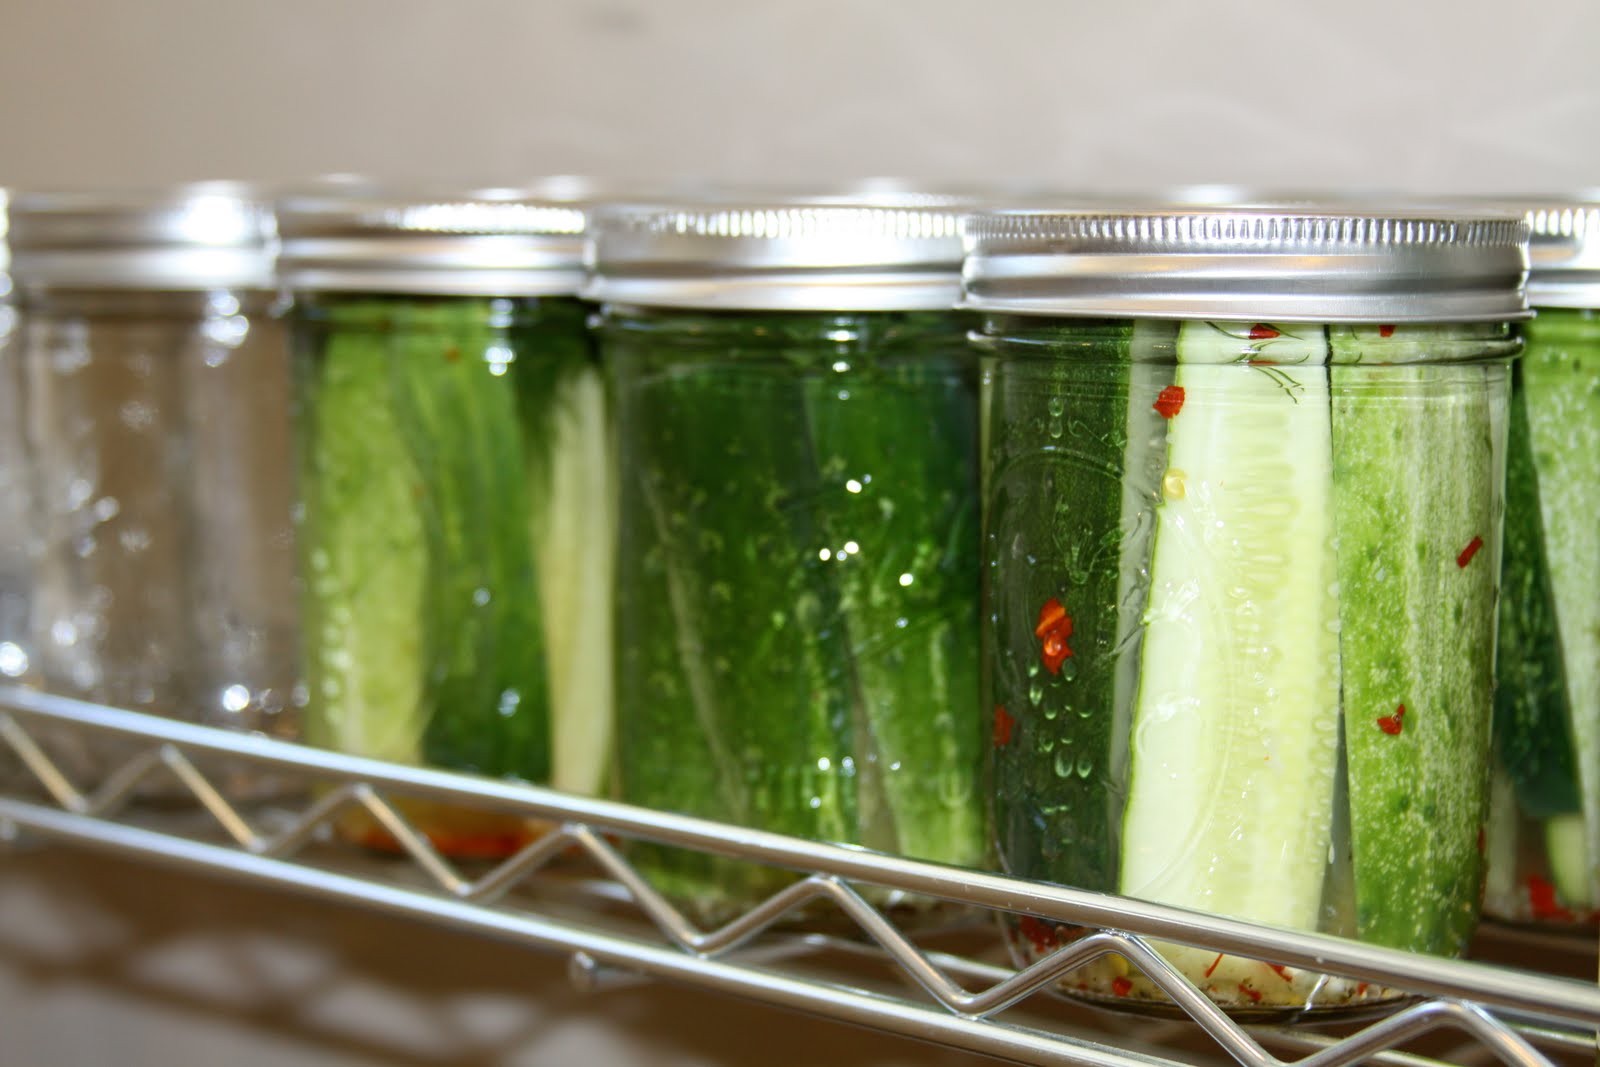
While I was waiting for an hour to pass, I started boiling the brining liquid and preparing the jars. I decided to try three variations of pickles. There are garlic and cayenne, cayenne garlic pepper, and celery garlic pepper. I put a clove of crushed garlic in each jar and then a little of each of the other ingredients (I really hate measuring as you'll see).
I then put the cucumbers in the jars, poured the brining liquid to the top, then placed the dill sprigs on top and closed the jars. I won't know how they will taste until tomorrow, but they look pretty darn good!
Brining Liquid
4 C water
2 T white vinegar
11/2 T Kosher salt
Put in a saucepan and bring to a boil. After two minutes removed from heat and poor into jars with cucumbers in them.
Well, the goal was to cook/blog about cooking at least twice a week. In over a week’s time, we have cooked, just forgot to take pictures or blog. Last Sunday we had Hank and Corkey over and made bruschetta for the appetizer. Then we had a salad with candied almonds, strawberries, goat cheese and raspberry vinaigrette. For the main course we had Chicken Saltimbocca alla Romano with roasted baby red potatoes. It was delightful and deemed our “go to” meal for when we have guests. We really just need to work on the timing.
Then on Tuesday, we took our show on the road. We were meeting to talk about Fantasy Football, and what better food to have those discussions over, than pizza. We made each person a mini-pizza dough and they added their own toppings to each one.
The toppings included ground Italian sausage, pepperoni (par boiled to reduce fat/grease), fresh spinach, garlic, mushrooms, red onions, green peppers, artichokes, and fontina and Parmesan cheeses. We grilled them on a Weber grill that was heated to about 500 degrees. Each pizza only took about 5-6 minutes to cook. These were delicious and it was fun too!
So since I am supposed to write ABOUT cook, not just about what we cooked, I’ll get started with that portion now. I am going to tackle the ingredients for the pizzas.
The Italian sausage was easy, it just needed to be browned and drained. The pepperoni was also easy. Just bring a small pot of water to a boil and throw the pepperonis in. You will be amazed how much fat/grease is released this way. Making your pizza more enjoyable and less soggy. The spinach was coarsely chopped. The garlic we sliced thin. Same with the red onions and green peppers. The mushrooms and artichokes were pre cooked. I like to cook the mushrooms first with just a bit of EVOO. Once they are cooked through, I removed them and cook the quartered artichoke hearts. We like to do this to get most of the moisture out and get them nice and brown. The cheeses were just grated.
Make sure and remember the crushed red peppers for the table!
There are tons, literally tons, of blogs out there about food and cooking. So why would we start out own, seemingly very late in the cooking/food blog world? We thought it would be fun to start a blog about our cooking adventures as a way to library our cooking photos and to document what has worked and what's failed in the kitchen, bust most importantly as a creative outlet for writing.
We are going to try no to be "those people." The people that start a blog with fervor only to let it go by the wayside days or weeks later. My goal is to update this at least twice a week with both pictures and stories about what we have been cooking.